There’s something truly magical about the smell of freshly baked bread wafting through your home-a warm, comforting embrace that invites you to slow down and savor the moment. But beyond the nostalgic aroma lies a world of wholesome goodness, especially when it comes to whole wheat bread. “Bake Better: Your Guide to Homemade Whole Wheat Bread” is your passport to mastering this timeless staple, blending tradition with tips and techniques that transform simple ingredients into golden, nutritious loaves. Whether you’re a seasoned baker or a kitchen rookie, this guide will help you unlock the secrets of whole wheat baking, ensuring each slice is as hearty and satisfying as it is delicious. Ready to roll up your sleeves and bring the bakery home? Let’s get started!
Choosing the Finest Whole Wheat Flour for Perfect Texture
Bake Better: Your Guide to Homemade Whole Wheat Bread begins with one of the most vital ingredients-whole wheat flour. Selecting the right flour not only dictates the flavor but profoundly influences the bread’s crumb and crust. Opt for freshly milled, stone-ground whole wheat flour to capture the fullest texture and nutty aroma. Its coarser grind, retaining bran and germ, creates a denser crumb but promises a wholesome bite that’s utterly satisfying. Fine-milled flour lends a lighter, more delicate crumb, ideal for those who prefer a softer loaf. Experimenting with blends-such as mixing whole wheat with a touch of bread flour-can balance chewiness and rise, ensuring a loaf that’s both tender and structured.
Mastering the Art of Kneading to Develop Flavor and Structure
The magic of kneading in whole wheat bread making cannot be overstated. With each fold and stretch, gluten strands align and strengthen, offering your bread the perfect framework to rise beautifully. Whole wheat flour’s bran can interfere slightly with gluten formation, so a patient, intentional kneading process becomes essential. Aim for 10 to 15 minutes of kneading by hand-until the dough feels elastic and springs back when gently pressed. Use a bench scraper to keep the dough manageable, and don’t shy away from the “poke test” to gauge readiness. This tactile connection not only builds structure but also cultivates a deep, subtle flavor as the dough aerates and matures.
Unlocking the Secrets of Optimal Fermentation and Rising
Fermentation transforms simple ingredients into a fragrant, airy masterpiece. Whole wheat dough ferments a bit differently than white flour dough, often requiring longer rising times to fully develop flavor and height. The bran in whole wheat flour absorbs more water, so keeping the dough slightly moist during rising offers the best environment for yeast activity. Warm, draft-free spots with consistent temperatures from 75°F to 80°F encourage an active rise without drying. Consider a slow, overnight retard in the refrigerator for nuanced flavor complexity and easier shaping the following day. A well-risen dough doubles in size, feels puffy, and passes the “finger dent test” – a gentle poke should slowly fill back in.
Baking Techniques to Achieve a Crispy Crust and Soft Interior
To achieve a striking contrast between a crisp crust and tender crumb, high heat and steam are your best allies. Preheat your oven thoroughly to 425°F (220°C), and introduce steam during the first 10 minutes by placing a pan of hot water in the lower oven or spritzing the loaf with water before baking. This moisture delays crust hardening, allowing expansion and a glossy finish. For a rustic look, slash your dough with a sharp blade to guide its rise and reveal beautifully caramelized edges. Bake the loaf for approximately 35 to 40 minutes, until the crust turns a deep golden brown and the loaf sounds hollow when tapped. Cooling the bread on a wire rack ensures the crust remains crisp and the internal moisture redistributes evenly, leaving you with a slice that feels light but full of rich, wholesome texture.
Prep and Cook Time
- Preparation: 20 minutes
- First Rise: 1 to 1.5 hours
- Second Rise: 45 minutes to 1 hour
- Baking: 35 to 40 minutes
- Total Time: Approximately 3 hours, including rising
Yield
One 9×5-inch loaf, about 12 slices, serving 6-8 people.
Difficulty Level
Medium – Ideal for bakers comfortable with yeast and dough handling who want to refine their technique.
Ingredients
- 3 cups whole wheat flour, freshly milled if possible
- 1 cup lukewarm water (around 80°F)
- 2 teaspoons active dry yeast
- 1 tablespoon honey or maple syrup
- 1 teaspoon fine sea salt
- 2 tablespoons olive oil or mild vegetable oil
- Optional: 1 tablespoon vital wheat gluten (for extra strength)
Instructions
- Activate the yeast: In a small bowl, combine lukewarm water, honey, and yeast. Let it sit for 5-10 minutes until foamy to ensure the yeast is alive and active.
- Mix the dough: In a large bowl, blend whole wheat flour, salt, and vital wheat gluten if using. Create a well in the center and pour in the yeast mixture and oil. Stir with a wooden spoon until a sticky dough forms.
- Knead the dough: Transfer to a lightly floured surface and knead for 10 to 15 minutes until smooth and elastic. The dough will feel tacky; add flour sparingly to avoid drying it out. Use a bench scraper to assist if necessary.
- First rise: Place the dough in a lightly oiled bowl, cover with a damp cloth, and let it rest in a warm, draft-free spot until doubled in size, about 1 to 1.5 hours.
- Shape the loaf: Gently punch down the dough to release gas. Shape into a tight loaf and place it in a greased 9×5-inch loaf pan or on a parchment-lined baking sheet.
- Second rise: Cover loosely and allow the dough to rise again until doubled, roughly 45 minutes to 1 hour. Preheat your oven to 425°F (220°C) during this time.
- Prepare to bake: Slash the top of the dough with a sharp knife or lame to control expansion. Place a small tray with hot water in the oven’s base or spritz the loaf surface lightly with water to create steam.
- Bake: Bake for 35 to 40 minutes until the crust is deep golden and the loaf sounds hollow when tapped on the bottom.
- Cool: Transfer to a wire rack and let cool completely before slicing to maintain crust crispness and moisture balance.
Tips for Success
- Hydration: Whole wheat flour absorbs more water; avoid adding too much flour during kneading to keep the bread moist.
- Gluten boost: Vital wheat gluten can enhance elasticity, especially if using freshly milled flour with low gluten content.
- Flavor depth: For richer flavor, try an overnight cold fermentation in the fridge after shaping; bring to room temperature before baking.
- Troubleshooting: Dense bread? Make sure your yeast is fresh and your rising environment warm but not hot.
- Make-ahead: Slice and freeze bread once cooled, thawing slices directly in a toaster to enjoy freshness anytime.
Serving Suggestions
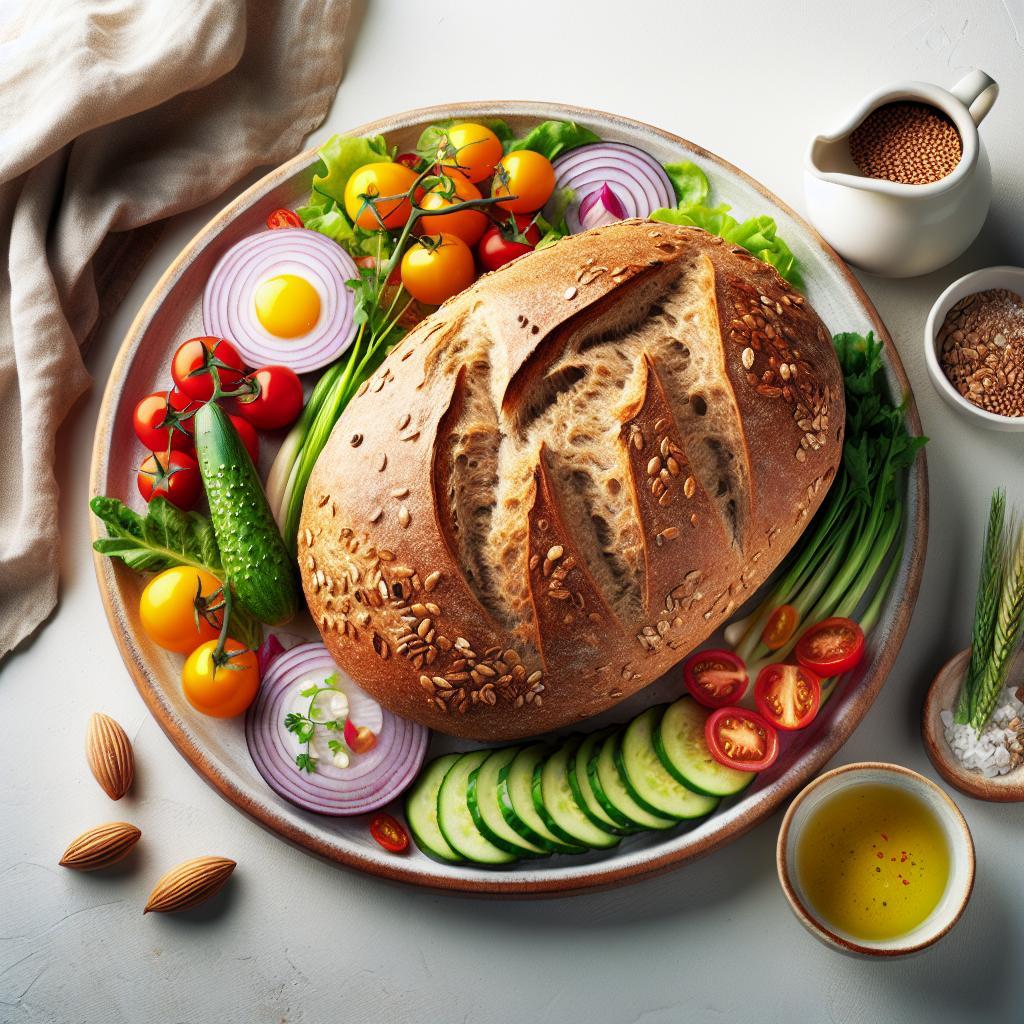
Slice your homemade whole wheat bread thick or thin and serve warm with creamy avocado spread and a sprinkle of chili flakes for a modern twist. For traditional comfort, a pat of high-quality butter and honey or your favorite nut butter makes a sublime pairing. Garnish with fresh herbs like thyme or rosemary for an aromatic finish, or toast slices and layer with grilled vegetables and hummus for a satisfying sandwich. The hearty crumb and crispy crust shine best when paired with simple, vibrant accompaniments that highlight the bread’s earthy character.

| Nutrient | Per Serving (1 slice) |
|---|---|
| Calories | 110 kcal |
| Protein | 4 g |
| Carbohydrates | 22 g |
| Fat | 2 g |
| Fiber | 3 g |
For those eager to explore more artisan bread techniques, consider visiting King Arthur Baking’s expert guide. Also, check out our Artisan Bread Making Techniques article for further baking inspiration.
Q&A
Q&A: Bake Better: Your Guide to Homemade Whole Wheat Bread
Q1: Why should I bake whole wheat bread at home instead of buying it from the store?
A: Baking whole wheat bread at home means you control every ingredient-no hidden preservatives, no unwanted additives. Plus, fresh-from-the-oven warmth and aroma? Simply unbeatable. Homemade bread offers superior texture, richer flavor, and the satisfaction of creating something wholesome from scratch.
Q2: What makes whole wheat flour different from white flour in bread baking?
A: Whole wheat flour contains the entire grain-the bran, germ, and endosperm-making it denser and more nutrient-packed than white flour. Its higher fiber content means a heartier crumb and slightly nutty taste, but it also requires some adjustments in hydration and kneading to get that perfect loaf rise.
Q3: My previous attempts at whole wheat bread resulted in a dense brick. How can I fix that?
A: Dense bread usually means you need more moisture and better gluten development. Try increasing the hydration by adding a bit more water or milk. Also, give your dough plenty of time to rise-patience is your yeast’s best friend. Incorporating a mix of whole wheat and bread flour can lighten the texture, too.
Q4: Can I add other ingredients to my whole wheat bread?
A: Absolutely! Whole wheat dough is like a blank canvas. Mix in nuts, seeds, dried fruits, or herbs to add flavor and crunch. Just remember: additions can affect your dough’s moisture and baking time, so keep an eye on texture and color as you experiment.
Q5: How do I know when my whole wheat loaf is perfectly baked?
A: A few cues: the crust should be golden and firm to the touch, and the loaf should sound hollow when tapped on the bottom. For precision, an internal temperature of about 190-200°F (88-93°C) means you’re good to go. Let it cool completely before slicing to set the crumb.
Q6: Is it hard to maintain freshness with homemade whole wheat bread?
A: Homemade bread tends to be fresher-and less shelf-stable-because it lacks commercial preservatives. To keep it at its best, store in a linen bread bag or loosely wrapped in foil at room temperature. For longer storage, slice and freeze-it toasts beautifully straight from the freezer.
Q7: Any tips for beginners diving into whole wheat bread baking?
A: Start simple: master the basic recipe first, then play around with variations. Use a kitchen scale for accurate measurements, and invest in a good thermometer to monitor dough and baking temps. Most importantly, embrace the process-every loaf teaches you something new.
With these answers, you’re ready to bake better and enjoy the wholesome goodness of homemade whole wheat bread every time!
In Retrospect
Baking whole wheat bread at home is more than just a kitchen project-it’s a journey of patience, passion, and nourishment. With each loaf, you’re not only crafting a healthier alternative but also connecting to time-honored traditions and the simple joy of homemade goodness. Armed with the tips and techniques from this guide, you’re ready to transform humble ingredients into a hearty, wholesome masterpiece. So preheat your oven, dust off your mixing bowl, and let the comforting aroma of freshly baked whole wheat bread become the soundtrack of your home. Happy baking!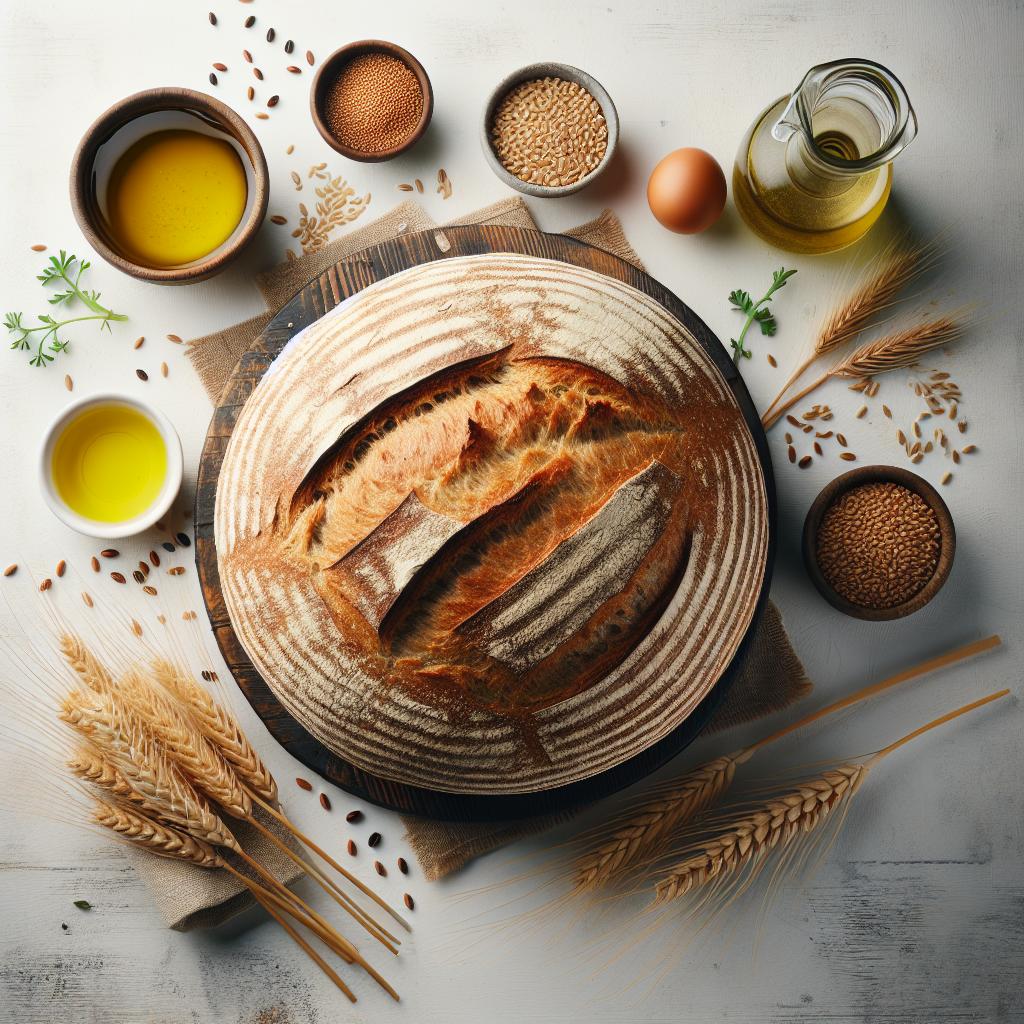

