There’s something utterly captivating about the rich, creamy indulgence of a classic New York cheesecake-a dessert that transcends time and trends to claim its rightful place as an icon of culinary artistry. With its dense, velvety texture and perfectly balanced sweetness, mastering this timeless recipe is both an art and a science, inviting bakers of all skill levels to unlock the secrets behind its signature decadence. In this guide, we’ll explore the essential techniques, ingredients, and tips that transform simple components into a slice of heaven, ensuring that every bite pays homage to the storied tradition of classic New York cheesecake. Whether you’re a passionate home baker or a curious dessert lover, prepare to embark on a delicious journey toward cheesecake mastery.
Mastering Classic New York Cheesecake reveals the secrets to creating that iconic dessert known for its lusciously creamy texture and delightfully dense yet tender crumb. Born from the bustling streets of Manhattan, this cheesecake embodies rich flavor balanced with a buttery, crumbly crust, making it an irresistible indulgence. Whether you’re a seasoned baker or a passionate home cook, unlocking the ideal combination of ingredients, techniques, and baking nuances will elevate your cheesecake game to timeless perfection.
Prep and Cook Time
- Prep Time: 30 minutes
- Cook Time: 1 hour 15 minutes
- Cooling Time: 6 hours (preferably overnight)
Yield
One 9-inch cheesecake, serves 12 generous slices.
Difficulty Level
Medium – Requires attention to ingredient temperature and baking technique, but is approachable for confident home bakers.
Ingredients
- 2 ½ pounds (about 1.13 kg) full-fat cream cheese, softened to room temperature
- 1 ¼ cups (250 g) granulated sugar
- 1 cup (240 ml) sour cream, at room temperature
- 3 large eggs, at room temperature
- 2 teaspoons pure vanilla extract
- 1 tablespoon fresh lemon juice
- ¼ cup (32 g) all-purpose flour, sifted
- 1 ½ cups (150 g) graham cracker crumbs
- 5 tablespoons (70 g) unsalted butter, melted
- 2 tablespoons granulated sugar (for crust)
Instructions
- Prepare the crust: Combine the graham cracker crumbs, 5 tablespoons melted butter, and 2 tablespoons sugar in a bowl. Mix until the crumbs are evenly moistened.
- Press firmly the crumb mixture into the bottom and slightly up the sides of a 9-inch springform pan. Chill in the fridge while preparing the filling to help firm the crust.
- Beat the cream cheese: Using a stand mixer or hand mixer fitted with the paddle attachment, beat the softened cream cheese on medium speed until smooth and creamy, about 2-3 minutes. Avoid overmixing to prevent excess air.
- Add sugar gradually, continuing to beat until fully incorporated and silky.
- Mix in sour cream, vanilla extract, and lemon juice on low speed, blending just until smooth.
- Incorporate eggs one at a time, mixing gently after each addition to keep the batter airy but not overworked.
- Fold in the sifted flour, which helps stabilize the cheesecake’s texture.
- Pour the filling evenly over the chilled crust and smooth the top with a spatula.
- Prepare a water bath: Wrap the bottom of the springform pan with aluminum foil to prevent leaks. Place the pan in a large roasting pan and pour boiling water to come halfway up the sides of the pan.
- Bake at 325°F (163°C) for 70-75 minutes, or until the edges are set but the center still slightly jiggles when gently shaken.
- Turn off the oven, leave the cheesecake inside with the door slightly open for 1 hour to cool gradually, preventing cracks.
- Remove the cheesecake from the water bath and cool completely on a wire rack before refrigerating for at least 6 hours or overnight for best flavor and texture.
Chef’s Notes: Tips for Success
- Room temperature ingredients: Ensure all dairy and eggs are at room temperature to achieve a seamless batter and avoid lumps.
- Water bath: This gently steams the cheesecake and prevents drying or cracking by regulating the baking environment.
- Don’t overbeat: Too much air can cause the cheesecake to puff up and then collapse.
- Customize flavors: Try adding a teaspoon of almond extract for a subtle twist or swirl in fruit preserves before baking.
- Make ahead: This dessert improves when baked a day prior. Keep refrigerated and covered with plastic wrap or a cake dome.
Creative Serving Ideas and Storage Recommendations for Lasting Freshness
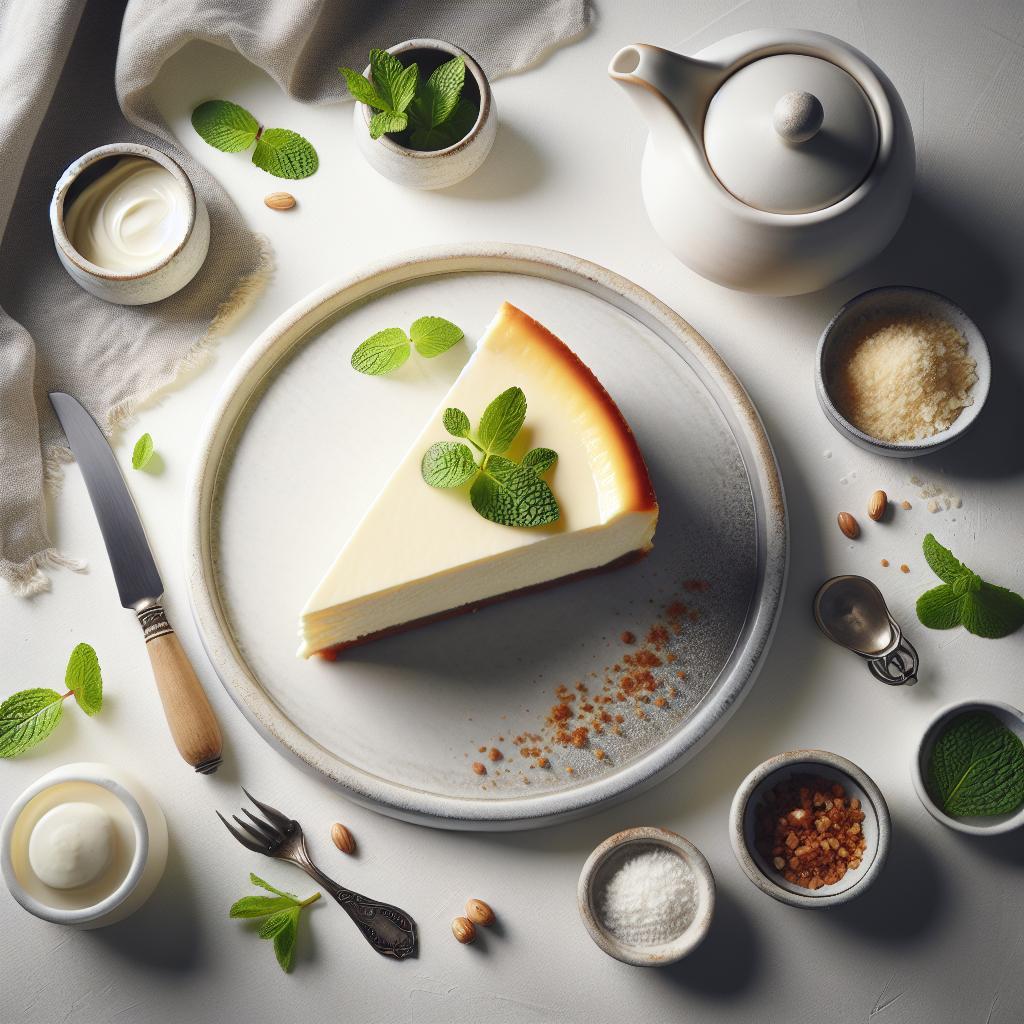
Present your masterpiece with a glossy fresh berry compote, a dusting of powdered sugar, or a few sprigs of fresh mint. For a rich finish, drizzle with warm chocolate ganache or scatter toasted nuts for texture contrast. Hosting a crowd? Serve alongside lightly whipped cream or a scoop of vanilla bean ice cream for decadent pairing.
To maximize freshness, store cheesecake in an airtight container in the refrigerator for up to 5 days. For longer preservation, wrap tightly and freeze for up to 1 month; thaw overnight in the fridge before serving to retain creamy texture.

| Nutrient | Per Serving |
|---|---|
| Calories | 450 kcal |
| Protein | 8 g |
| Carbohydrates | 32 g |
| Fat | 32 g |
For more delicious cheesecake recipes and baking tips, visit our Cheesecake Recipe Collection.
To deepen your understanding of baking temperature control, explore this comprehensive guide from King Arthur Baking.
Q&A
Q&A: Mastering Classic New York Cheesecake: Timeless Recipe Guide
Q1: What makes a New York cheesecake truly iconic?
A1: The hallmark of a New York cheesecake lies in its rich, creamy texture combined with a dense, velvety body that’s both indulgent and balanced. Crafted primarily from cream cheese, heavy cream or sour cream, and a simple graham cracker crust, it embodies classic simplicity enhanced by impeccable technique.
Q2: Why is cream cheese essential in this recipe? Can I substitute it?
A2: Cream cheese is the soul of New York cheesecake, giving it that signature tangy richness and dense consistency. While some bakers experiment with ricotta or mascarpone, these substitutes alter the texture and flavor profile. For authenticity, stick to full-fat cream cheese.
Q3: How important is the crust and how do I achieve the ideal one?
A3: The crust acts as a buttery, slightly crunchy foundation that complements the creamy filling. Use finely crushed graham crackers mixed with melted butter and a touch of sugar. Press the mixture firmly into the pan’s base and slightly up the edges for that classic seal between crust and filling.
Q4: What’s the secret behind a smooth, crack-free cheesecake surface?
A4: Smoothness boils down to mixing technique and baking method. Avoid overbeating your batter to prevent excess air bubbles. Bake the cheesecake in a water bath (bain-marie) to regulate heat and moisture, which gently cooks the batter and reduces cracking. Also, allow it to cool gradually to prevent sudden temperature shifts.
Q5: How long should I chill the cheesecake before serving?
A5: Patience is key! Chill your cheesecake for at least 4 hours, but preferably overnight. This resting period lets the flavors meld and the texture firm up, delivering that flawless slice every time.
Q6: Can I customize my New York cheesecake without losing its classic charm?
A6: Absolutely! While the base is traditional, topping with fresh berries, a drizzle of chocolate, or a spoonful of fruit compote adds delicious flair without compromising its iconic soul. Just keep the core recipe intact to honor the timeless craft.
Q7: What common mistakes should I avoid when mastering this cheesecake?
A7: Avoid overmixing, underbaking, and skipping the water bath. Also, resist the urge to open the oven door mid-bake – that sudden chill can cause cracks. Lastly, ensure all ingredients are at room temperature for smooth blending.
Embarking on the journey to master the classic New York cheesecake is both an art and a science. Armed with this timeless guide, your kitchen is set to produce legendary slices that echo decades of decadent tradition!
In Conclusion
As you close the chapter on this timeless recipe guide, remember that mastering the classic New York cheesecake is not just about following steps-it’s an art of patience, precision, and passion. Each slice tells a story of rich tradition, a creamy texture perfected through experience, and flavors that have delighted dessert lovers for generations. Whether you’re a seasoned baker or a curious beginner, this iconic dessert invites you to explore its depths and make it your own. So, roll up your sleeves, embrace the process, and soon you’ll be serving up slices of New York nostalgia-one unforgettable bite at a time. Happy baking!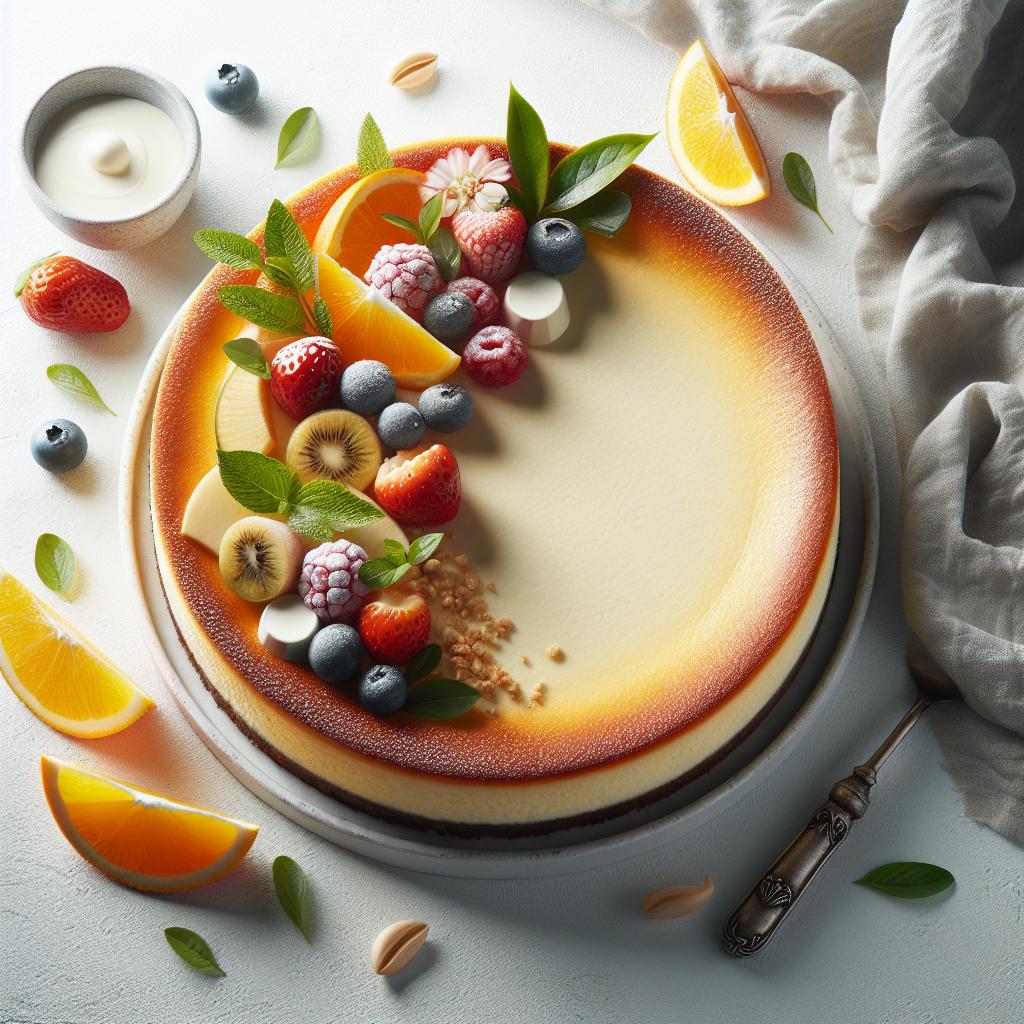

